Defining Connectors
You can define each technology, or connector, with which vFire Core can communicate, which is installed on your vFire Core system.
Before you start
You must have Integration Setup selected in the Admin tab of your General Access Security Role.
-
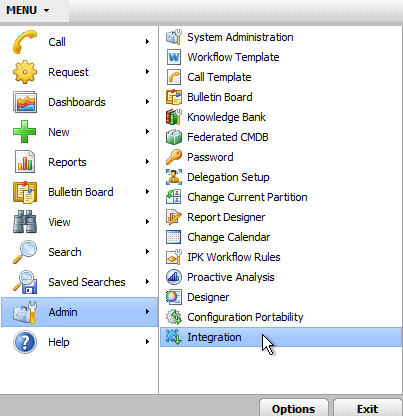
Select
 and then Admin. From the submenu, select Integration
  . The Integration Platform Settings window is displayed
  .
. - Select Connectors from the explorer pane
 . The Integration Connectors window has a browse table displaying all the connectors installed on your system, regardless of whether you have a license for that particular connector.
 - You can assign a new description, set the connector’s visibility in other areas of the integration platform, and test if the connector is licensed and installed in the correct location.
- Select
 to save the changes.


|
Description |
The description of the connector enables you to identify the connector. You can specify your own description by clicking in this field, and typing over the existing description. |
|
(Assembly.TypeName) |
Connectors are integrated with vFire Core using Connector Dynamic Link Libraries (DLLs). The Assembly.TypeName is a string defined by the Connector DLL that enables instances of an external source to be created by vFire Core. The Assembly.TypeName for a connector is provided along with its DLL. vFire ships with a set of pre-defined connectors. If you have created your own connectors, ensure that the connector DLL exists in the vFire\<system>\bin directory. |
|
Each connector may have the capability for being used for more than one type of third-party integration: |
|
|
Resources |
The connector is enabled for Federated CMDB integration with external resources. This column is read-only since integration capabilities are configured at the level of the connector. |
|
Events |
The connector is enabled for Event Management. This column is read-only since integration capabilities are configured at the level of the connector. |
|
Actions |
The connector is enabled for Inbound and/or Outbound Actions. This column is read-only since integration capabilities are configured at the level of the connector. |
|
Visible |
If you are not licensed for a particular connector or you simply wish to hide a connector from displaying, for example when configuring sources, clear the checkbox. If you select Visible, the connector will be displayed regardless of whether you are licensed for the particular connector or not. Making a connector visible simply displays it in the integration settings. While you may select any installed connector (for which the Visible checkbox has been selected) when defining a source, you will not be able to create the source successfully unless you are licensed for the particular connector and it is installed correctly. |
Testing Connectors
Before you start
You must have Integration Setup selected in the Admin tab of your General Access Security Role.
-
Select
and then Admin. From the submenu, select Integration . The Integration Platform Settings window is displayed . - Select Connectors from the explorer pane . The Integration Connectors window has a browse table displaying all the connectors installed on your system, regardless of whether you have a license for that particular connector.
- Select the connector you want to test, and then select
 from the toolbar.
 - The system tests whether the Connector DLL exists in the correct location, and that you are licensed for using it. If your system is unable to connect to the Connector DLL or is not licensed for the connector, an error message displays.